You know, sometimes I get into this dilemma about if the tweaks I’m applying to my images are making them better… or just more edited. I think all of us photographers have been to this point where we’re wondering if we’re done yet with our edit. I think that Before and After is a really handy tool to help us with that, so today we’ll be taking a look.
When I’m using the Develop module, this is essential to make sure that my edits are going the way that I want them to. Before and after view is really handy when we need to see how our edits are affecting the image.
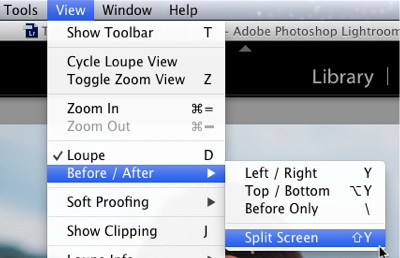
To enter Before and After view, I usually press “Y” on the keyboard to start it up. You can also find all of the options by going to the View menu option, then choosing “Before/After”.
Once we’re in Before & After view, we have three options for how we can compare the images. Let’s take a look at the before and after views:
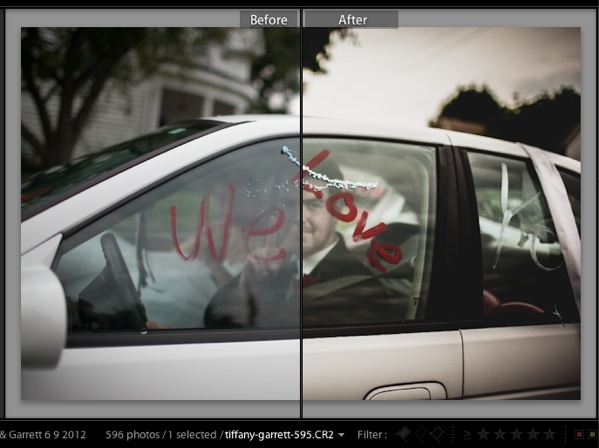
Left / Right – Keyboard Shortcut “Y”
This is the default view when entering before and after view. The before image is placed on the left, and the after image is placed on the right.
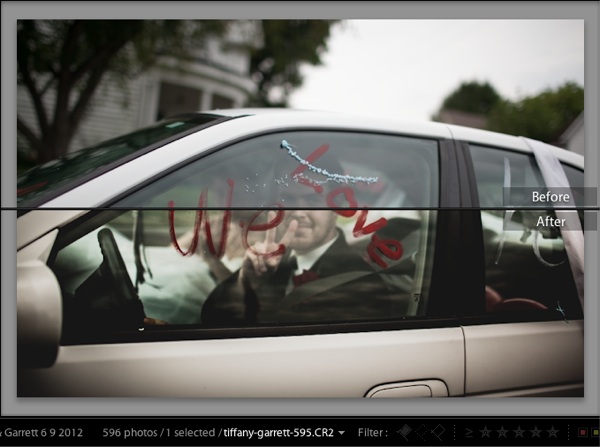
Top / Bottom – Keyboard shortcut “Alt + Y”
Split Screen – “Shift + Y”
If you want to see all of both photos, use “Split Screen” to view the full images side by side. One quick note; if you press Shift + Y while it’s split top / bottom, then you’ll see both copies arranged vertically. If you press Shift + Y while your image is split into left and right halves, it will show the images side by side, left and right.
Do you use before and after view? Check in with me in the comments if you need more help using it or want to share something about how you use it.


