Oh man, this is a handy tip. I have to admit that I didn’t use this feature for far too long, and now I’m kicking myself for doing it. Quick collections are a great way to quickly round up a few images for about any purpose.
I can think of a ton of situations that quick collections can come in handy. If I’m rounding up a sneak peek for my clients, I’ll use a quick collection. If a few images require more retouching in Photoshop, quick collection. Basically, quick collections are essential anytime we want to pull aside some of our images for any reason.
Okay, so let’s take a look at how we can make a quick collection. We can do this in a number of modules, but I recommend using the Library module so that you can jump to your quick collection right after.
1) Think about what is going into your quick collection. (This is the most important step in everythign we do.!)
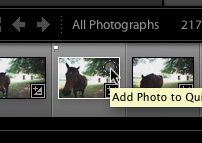
2) Next, begin adding photos to the quick collection. We can do this in a few ways. The icon for adding a photo to a quick collection is kind of tough to spot, but it’s a small circle that appears in the upper right hand corner of the photo thumbnail you’re hovering over. See the photos below for an example, or better yet,
Pro-tip: instead of clicking that icon, just press “b” on your keyboard to add to the quick collection.

You can also add a photo to a quick collection from Lightroom’s filmstrip – the area at the bottom with photo thumbnails.
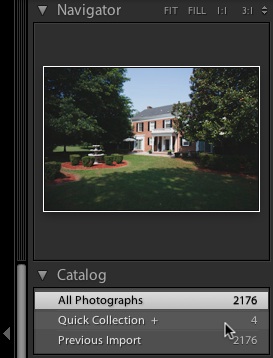
3) To view the quick collection, make sure that you’re in the Library module. On the left panel, make sure that the Catalog panel is dropped down (click it it isn’t, and it will fold down) and now, we can view our Quick Collection.

In the Library module, look at the left panel, and viewing the quick collection is easily done by choosing it under the “Catalog” option.
Anytime you need to corral a small set of images, quick collections are the best and fastest way to do it. Are you using quick collections? Let me know what you think.
