Updated for 2016 with a fresh video tutorial! Check it out. 🙂
Today, I’m going to reveal my big secret on how I cull quickly in Lightroom with a simple (but largely unknown!) set of keyboard shortcuts.
Okay, quick review here: when we say cull, we’re referring to cutting our images down to the keepers. I always cull my images before I start editing them because there’s no point in editing images we won’t keep right?
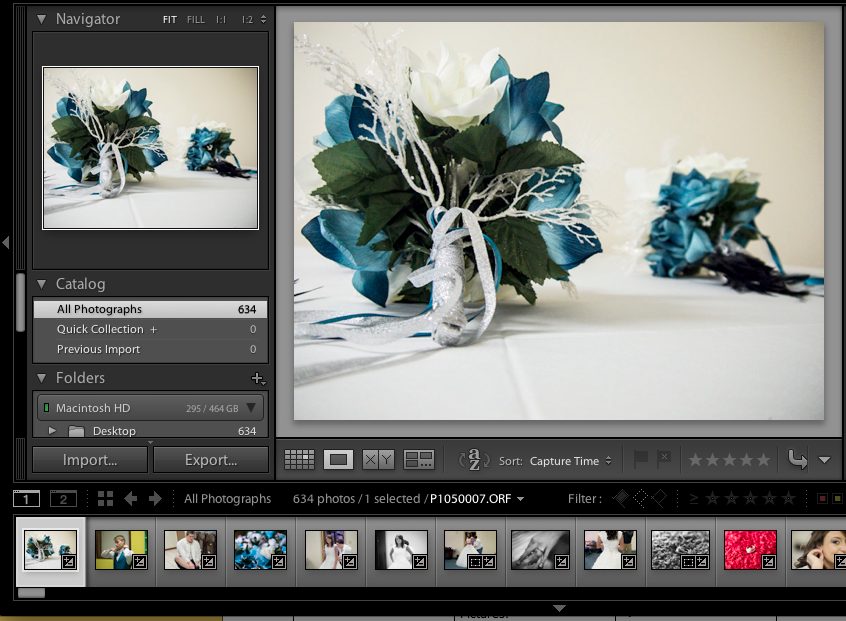
Culling is best done in the library module where you have a good view over your images. I also like using Loupe View where only one image is shown, and you can press E on your keyboard to enter Loupe view.

Loupe view is probably the best option for culling, as you can see large previews of your images to help you decide which ones to keep.
Remember talking about flags in our last post? That’s the system we will be using for this example, although other systems work as well.
To get started with our speed trick, go ahead and make sure that caps lock is turned on on your keyboard. This makes the images auto advance – once you apply a flag with the keyboard, Lightroom goes to the next image. As a review of our flagging keyboard shortcuts, you can press “P” to flag an image, or “U” to unflag an image.

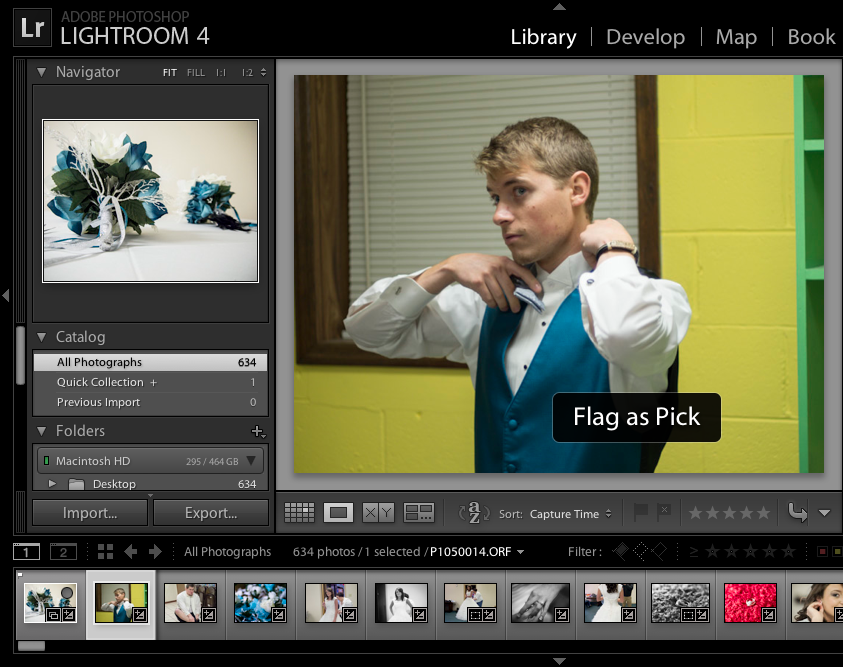
I grabbed this screenshot a split second after pressing “P” to flag the first image in the series. With caps lock on, Lightroom advances to the next image as soon as I press “P” to flag the first as a pick.
When I cull, I can fly through a large set of images with this trick. With caps lock turned on, I press “P” to flag an image as a pick for my keeper images. Pressing “U” marks an image unflagged. With caps lock on, as soon as you press the key, Lightroom automatically goes to the next image.
Give it a try for yourself. With this one keyboard tweak, you’ll fly through the culling phase. No more scrolling through to the next image, you can simply press the appropriate flag button and Lightroom handles the rest. Let me know what you think of my secret to quick culling!
