Ever wanted to go back in time with your image edits? The History panel is something I’m excited to teach you about today. Let’s take a look at this under-used part of Lightroom.
Lightroom’s History options are so powerful for a number of reasons. We can flip through the states to see what editing settings we have applied to an image, as well as move back to any other previous stage that the image was at. Lightroom is great about automatically creating “states” for each time we tweak an image. Let’s take a quick look at how we can work with the History panel.
To work with Lightroom’s History option, make sure that you are working in the Develop module. We will be going backward (or forward) in terms of the edits that we applied. On the left side of the screen, scroll down until you see the History panel. If it is not already dropped down, just click on the word History to open it up.
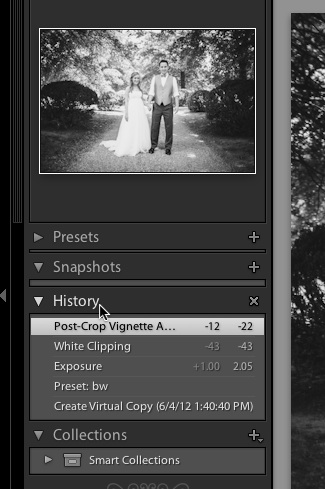
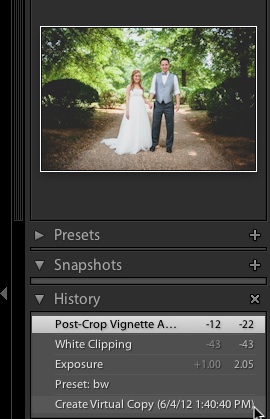
Okay, so you can see here some of the things that I’ve applied to the image. If I want to jump back to an earlier version, just click the stage that you want to do so. Also, a really cool tip here: just hover any of the states in the list, and the thumbnail
The history panel can really help you to track the settings you’ve made to an image to help you think of the settings that you’ve applied to your image. Even if you’re not wanting to move backward with the image at hand, you can study those settings to remind yourself of the settings you’ve applied.
Again, Lightroom’s non-destructive editing process lets us move back and forth with the edits that we apply. Using the history panel, no image edit is out of reach for correction or adjustment.
Do you use the History panel or are you just finding out about it? The comments are open as always.


