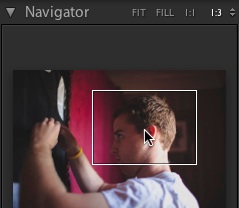
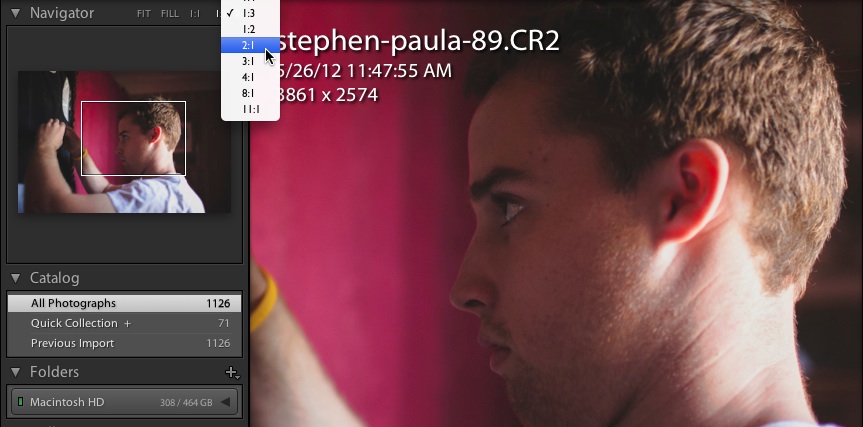
We can move around our images precisely once we master the navigator. You’ll find the Navigator situated in the upper left hand corner of Lightroom.
Meet Lightroom’s Navigator Panel!
What does the navigator do? Much like the name suggests, it lets us move around in our images. The navigator is present in every module, but we’ll be applying it especially in the Library and Develop modules. The navigator is really important when we need to zoom in and make careful retouches and close looks at our photo. It has a few options that can really help us, so let’s take a look.
Navigating the Navigator
In Lightroom, clicking on the image that we are working on will zoom in on it. When we start working with zooming and moving around the image, we can use the Navigator to help us maneuver through the image.
Once we’ve zoomed into the image, the navigator changes just a bit. We get a rectangle that shows us where we’re zoomed in. We can move around in the image by grabbing that rectangle and moving it over the part of the image we want to view.
Views
Let’s take note of the fact that there are some different zoom options when it comes to using the navigator.
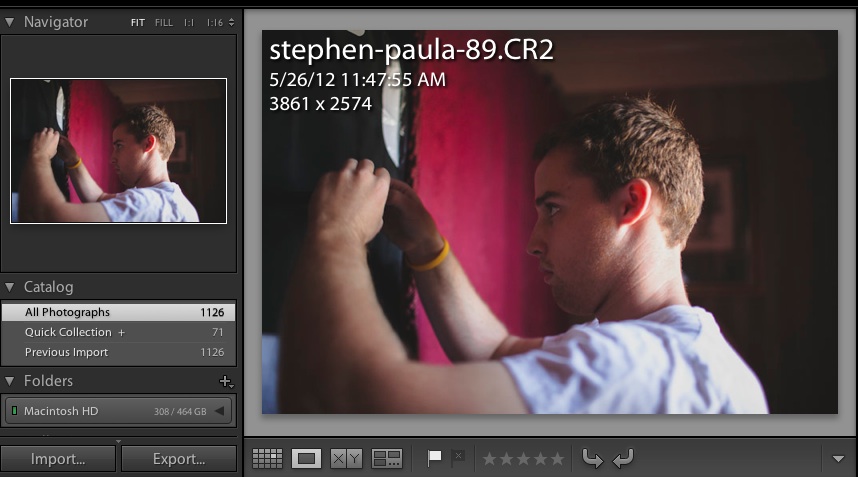
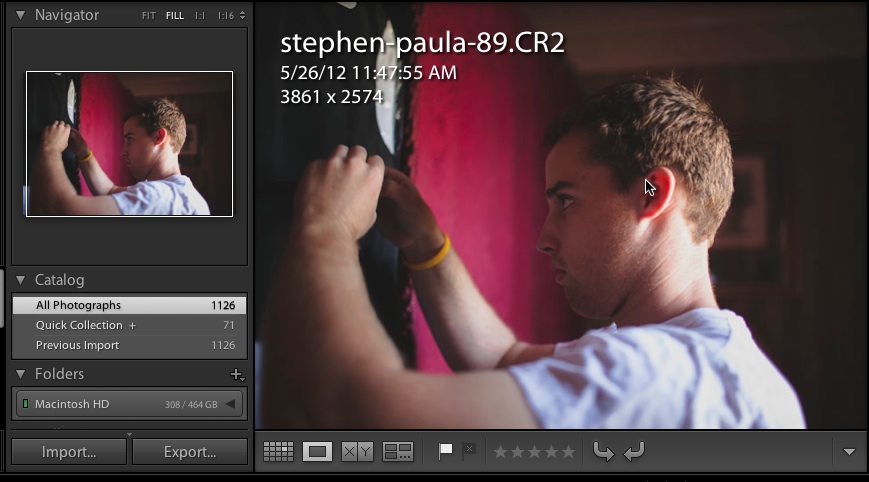
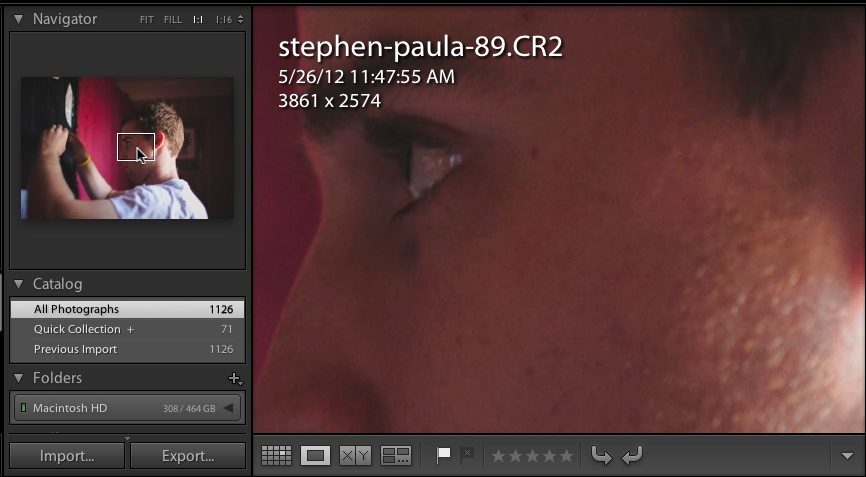
Across the top of this screenshot, you can see four options: fit, fill, 1:1, and 1:16. Let’s take some time to look at what each of these options does:
Fit
You’re probably already working with the “Fit” view. When the navigator is set to “fit”, Lightroom ensures that the entire photo fits within your workspace. If you need to zoom in, just click anywhere on the photo to zoom in further.
Fill
When switching to fill, Lightroom is going to magnify your image to “fill” the entire workspace. This may mean that part of the image can’t be seen – in the shot above, you can see that the left and right edges of the photo aren’t shown. We can always use the navigator to move around a bit and view the rest of the photo.
1:1
A 1:1 view is going to show your photo at full magnifaction, at 1:1 size. This means that Lightroom is going to zoom all the way in on your photo and view it fully zoomed tos ize. It’s important to use the navigator to move around the photo while zoomed in fully. You can grab the rectangle and move it over the part of the image you want to magnify.
1:N
Above, I called this the 1:16 because that’s how my Lightroom was set. However, we can basically set this to be any level of zoom that we want, even setting it to zoom out as is the case with 1:16. Clicking that option opens up a dropdown that lets you select the level of magnification, and you can even pick a ratio like 3:1 to go “larger than life” so to speak.
Wrapping Up
Learning the navigator is important so that we can do highly detailed checks fo our photos and move around. We’ve got a variety of views that let us check our photos out carefully, so give each a spin and think about how it can fit in your workflow.

