Welcome back to our Adjustment Week series! Today, we’ll be tackling one of the easiest tools, the Red Eye fix. The red eye phenomenon is something I’ll bet we’ve all run into at sometime or another. Luckily, Lightroom makes this fix an absolute breeze. Let’s take a look…
When I think of all the time I used to spend fixing this, this is so easy that it feels like cheating in Lightroom. In Lightroom, fixing red eye problems are done with just a single click typically. As is the case with most of our image editing, this will take place in the Develop module.
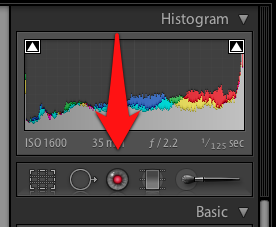
This tool is called the Red Eye Correction, and can be found along with Lightroom’s other spot correction tools in the Develop module. It’s pretty easy to spot – it’s on the right side of Lightroom and looks like an eye! Just click it to get started on correcting red eye.

You’ll find the red eye fix next to all of the other spot adjustments in the Develop module just under the Histogram. Click it to get started.
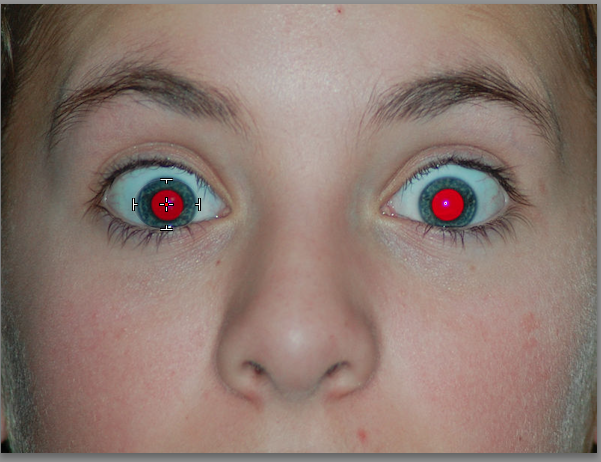
Next up, you’ll need to make sure you have a good view of the eye to fix. You might use the navigator on the left side of Lightroom and canclick on 1:1 view to zoom in closely. From there, you can drag the box around the navigator to move to where you need to be. With the red eye correction tool, just click on the red eye to be fixed, and Lightroom will do its job.

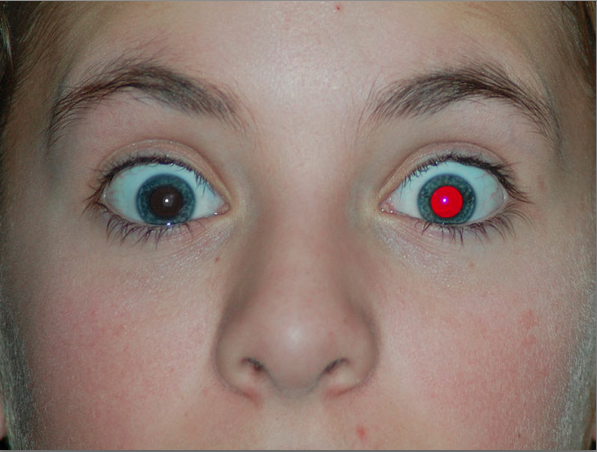
Thanks to Wikipedia for this public domain photo. You can see here I’ve hovered over the red eye on the left to be fixed, and one click usually does the job. Sometimes, you’ll need to drag it around the eye area with eyes as large as these!
If Lightroom doesn’t do a good job identifying the eye, my suggestion is to try again and reposition your area. You can click and drag to really specify the size of the eye fix area.
Wrapping Up
Isn’t the red eye fix easy? Don’t fret about opening Photoshop for every one of these fixes. Do you use it or do you plan to now?
