Hey again Lightroom Lovers! I’ve got a great tip today to share with you to speed up your Lightroom work. Today, we’re talking previews and how we can use them to work faster when we render them.
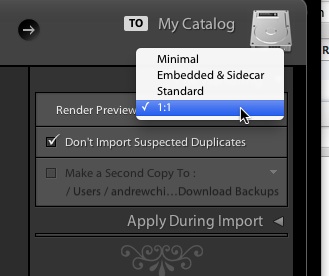
So here’s deal. When you start to import photos into Lightroom, the program is going to build previews. That’s what makes those images pop up quickly when we are browsing around the filmstrip or moving around in Lightroom.
There’s a couple of different sizes of previews that we can render. Let’s take a look at them:
- Minimal – the absolute smallest previews that show in the filmstrip and thumbnails
- Standard-sized – average sized previews – a happy medium of the settings above and below
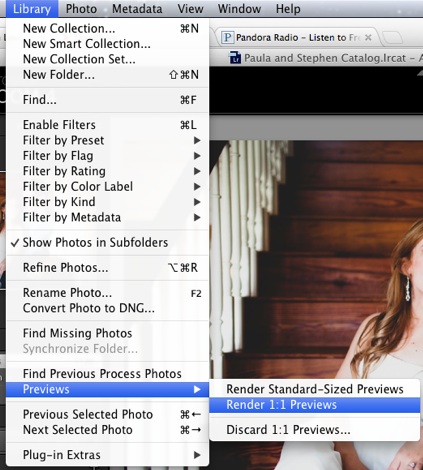
- 1:1 – the biggest previews, this renders a preview that lets you zoom in and out without delay
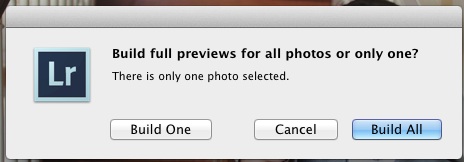
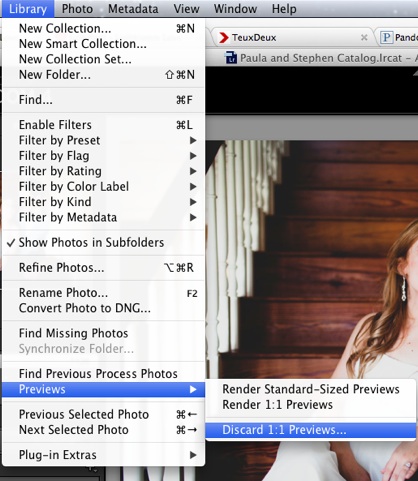
Also, when you’re finished with a catalog, I would recommend that you discard the 1:1 previews. This will save a lot of space on your hard drive and keep them from accumulating. This has to be done from the Library module. Go the “Library” menu, then select “Previews” and choose “Discard 1:1 Previews”. A menu will pop up asking if you want to discard just one preview, or all of the previews that Lightroom built. I usually will go ahead and throw away all previews once I’m done with the bulk of my work.
You can also discard the previews you’ve built to save disk space by first entering the Library module, then accessing the Library menu and choosing Preview -> Discard 1:1 Previews.
Do you usually pre-render big previews? I find that it really makes Lightroom snappier – how about you?


