Lightroom presets are awesome. Here’s how to use presets. With just one click, we can apply editing styles to our photos in Lightroom. What’s even better is that we can download and trade presets! However, we have to import them to get Lightroom to recognize the added presets. Today, I’ll be showing you how.
First thing is first. You have to have some presets that you’re wanting to load into Lightroom. Lightroom presets have a file extension of .lrtemplate . You might download presets that are compressed or zipped – .zip files – but the files that we need to feed to Lightroom are .lrtemplate files. Zip files need to be extracted or decompressed, and you can do this easily in your OS. (Here is Windows help; on Mac, just double click to extract a zip)
Okay, so now we have our preset ready to import. Go ahead and note what folder that preset is in because we’ll need to browse to it in just a moment.
Now in Lightroom, in the Develop module, make sure that on the left panel, you can see the presets already in Lightroom. Place your mouse cursor in the preset area, then right click to bring up a menu. Go ahead and choose “Import”.
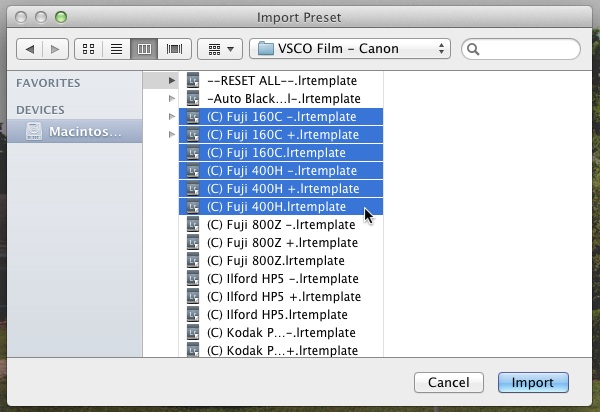
Okay, so now we will show Lightroom where our presets are. I’m on a Mac, but this is basically the same on the Windows platform. All you have to do is browse to the folder where .lrtemplate files are stored, and then click to import them. We can also shift click two presets to select a long list of presets, or control click to select multiple presets. Here, I’m using the VSCO Film Presets, which I highly recommend purchasing.
That’s all! Your presets will appear in that panel on the left and you’re free to apply them to your heart’s content.

