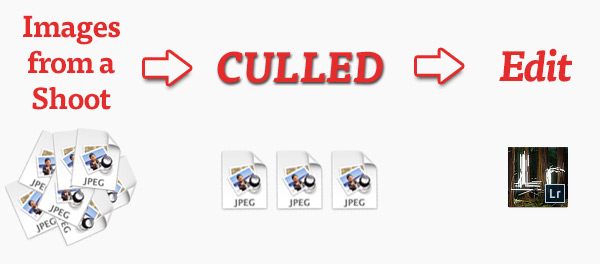
In our first lesson of working in the Library module, we’re we’re defining one of the most important things that photographers do: cull images. When we cull our images, we’re cutting our shoot down to the keepers; the set of images we actually want to edit – the best of the best.
My mindset is to take images from the camera, cull the images, and then head into the editing stage. To me, that’s a logical order for handling our images. Because editing takes the longest amount of time per image, we want to make sure we aren’t editing images
When we CULL our images, we’re cutting our shoot down to the keepers – the best of the best.
 Culling is the essential step we have to take to get images to a manageable set to edit.
When I cull, I’m removing all photos that I don’t think will make it to the client. Every shoot has different criteria for what makes it to a client based on the client’s need.
Culling in Lightroom doesn’t mean that we are deleting all of our non-keeper images; that would take too long and ultimately slow our process to a crawl. Instead, there’s some different systems that we can use to mark our images as keepers or non-keepers.
As we start our dive into the Library module, it’s important to know that culling is best handled within the Library module. We can view and explore our images in a number of different ways, and that means we get the best look at what we want to keep.
In the next post, we’re going to take a deeper look at how we can cull images in Lightroom. I’ll show you some systems that you can use to mark off your best images.
Ready to get started with culling? If you have any questions or feedback, feel free to leave a comment.