If we’re going to spend lots of time in Lightroom (and I bet that we will), we might as well customize it just the way we like, right? Lightroom has a pretty good number of options that I’ll show you below to set it up just the way you want to see it. Today, we’ll show you how to change the look of Lightroom.
Arrows are your friend when it comes to customizing Lightroom. When we click arrows, we change the way that Lightroom displays itself. Let’s take a look and use the Library module as an example.
In the screenshot below, you can see how clicking the arrow to the left of “Navigation” causes that panel to disappear. You can use this with any panel to hide it and give you more room to work.
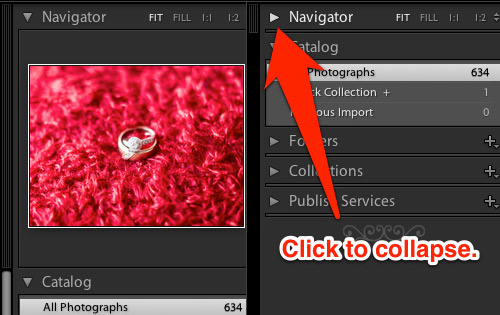
Clicking any of the arrows next to the panel will collapse that panel. I like to have only the panel I’m working with open to keep my workspace minimal and clean.
Beyond the individual settings panels, you can hide entire sides of Lightroom by clicking the arrows on the far left and right of the application.
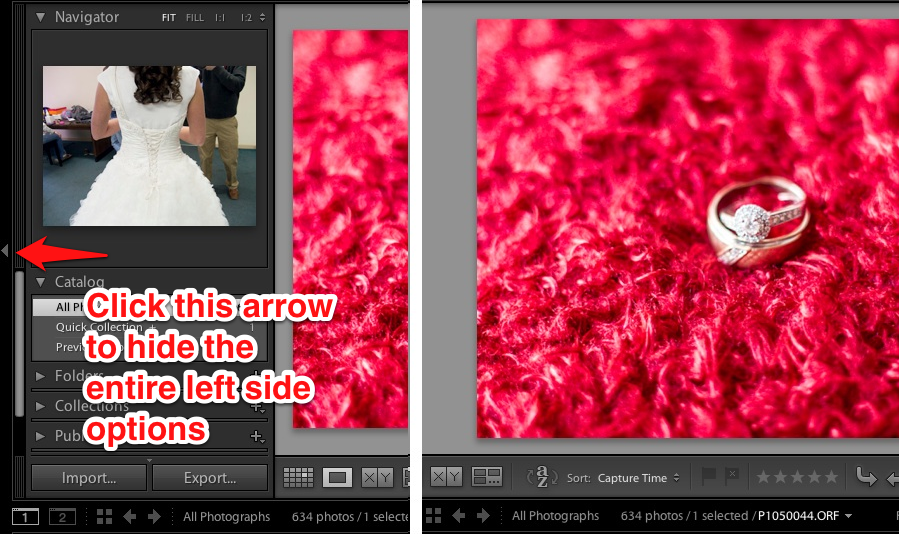
Clicking the arrow on the far left side of Lightroom will hide the entire left side of the program, giving you fewer distracitons and more room to work with your images in the workspace.
The same can be done for the right side. Simply press the arrows again to re-open those parts of the program. You can also modify the size of the filmstrip as shown below:
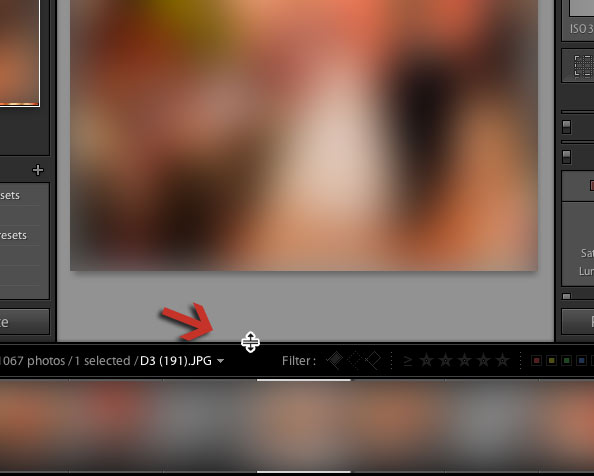
Finally, you can also drag the separator of the filmstrip at the bottom to show larger or smaller previews.
You might as well get comfortable in Lightroom. Once you learn to love it, you’ll spend so much time in it that you will want to customize it to your liking!
Do you customize the view of Lightroom? Feel free to leave a comment to let me know how you set up your view of the program.