Hey again Lightroom fans! Today we’re taking a look at using snapshots to save our edits. This makes them easy to jump back to after we’ve added more edit work. When I’m happy with the way I’ve edited the photo but want to experiment a bit more, I can use a snapshot to freeze my progress on the image.
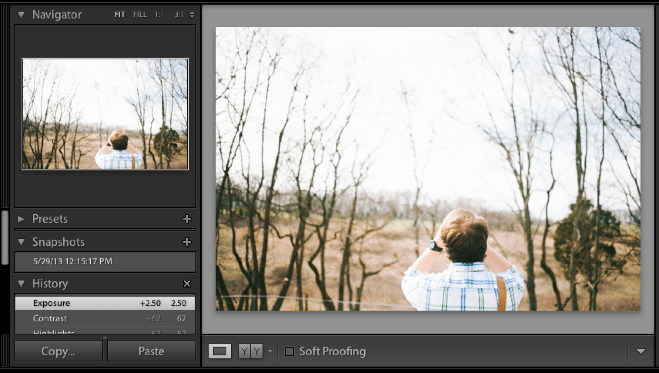
Snapshots are really easy to use! You’ll find the panel to manage snapshots in the Develop module, on the left side of the program below the Navigator.
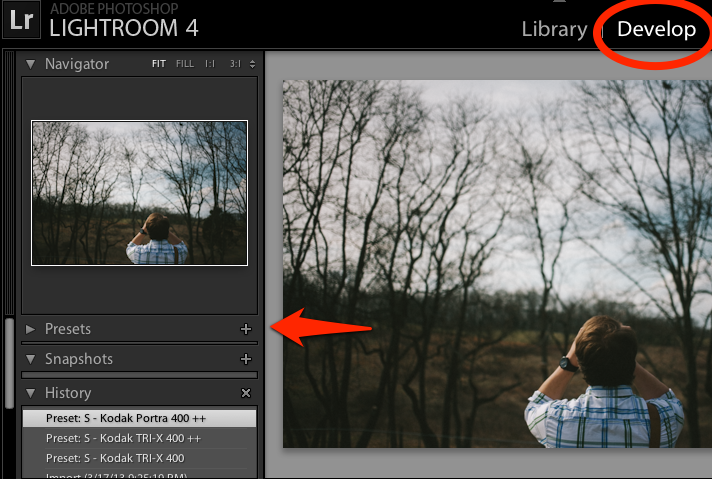
You’ll find the Snapshot panel in the develop module, on the left side and under the naviagator.
To get started with snapshots, we typically assume that we’ve already edited the photo in some way. We want to use the snapshot to freeze our progress and make it easy to jump back if we add edits we don’t like. Lightroom provides us lots of ways to do this with tools like the History Panel, but snapshots are great for one click “versions” of our edits.
To snapshot our current edit version, just click the plus button on the snapshot panel.
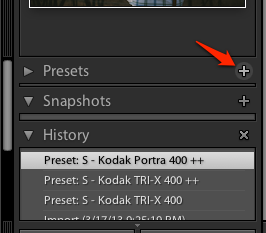
Just press the plus button to snapshot our editing progress.
Next, just give the snapshot a name. By default, Lightroom will give you a name of just the day and time you press snapshot, and that’s usually what I stick with.
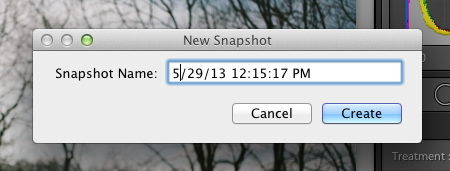
Give your snapshot a name so you can keep track of it. Lightroom gives us the day and time by default, and that’s what I stick with. There’s no limit to the number of snapshots you can make for an image!
You’ll see Lightroom add the snapshot to the list of snapshots in the panel.
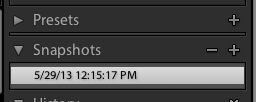
Lightroom lists all snapshots for the image at hand in the snapshot panel.
Next up, go ahead and keep adding edits to your image.
After we’ve snapshotted the image, we can keep adding edits and jump back at any time.
If I’m unhappy with the edit style that I’ve added, I can just press the snapshot in the panel to jump back to our earlier version.
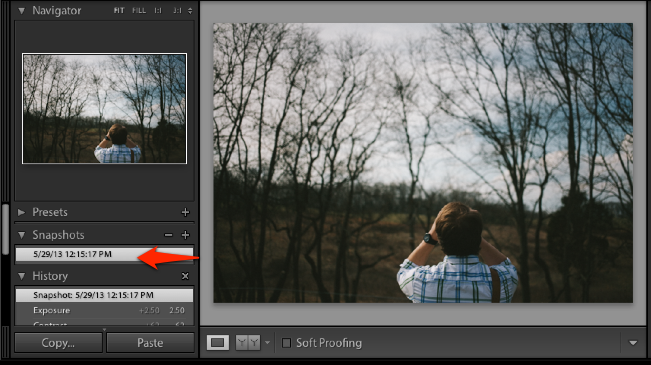
Clicking the snapshot we saved earlier will instantly jump our image back to the earlier version!
Voila! With one click, we’ve jumped back to our snapshot version.
Are you using snapshots or do you prefer using the History panel we covered a few days ago? I think there’s room for both in our workflow, and I love using snapshots for freezing edits before doing more work. Leave a comment if you want more help or have ideas!