If your images aren’t already in the order you want them to be in Lightroom, sorting them is a breeze. Lightroom has the power to sort images in a number of different ways, so let’s take a look:
We can sort images in multiple modules, but I recommend that we do all of our sorting in the Library module because remember, it’s for managing our images and controlling how they’re stored. I like to think of the Develop module as being strictly for edits.
You’ll find the options to sort automatically in the Library module’s Grid View. Remember we can enter Grid View by pressing G on the keyboard.
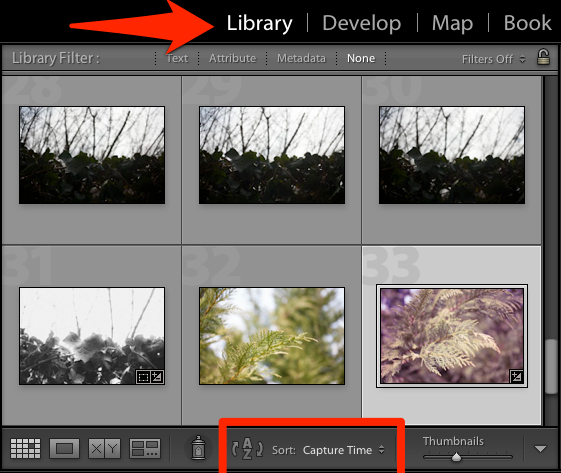
I do all of my sorting in the Library module and you’ll see it automatically when you’re in Grid View. You can also press the A-Z symbol to reverse the sort “direction” back and forth.
We can choose how images are sorted by clicking on the text, which in this case is “Capture Time.” You can also switch between sorting and reverse sorting by pressing the A-Z icon.
If you’re working in another view or you don’t see the area above for Sorting, press the arrow on the far right to add it to what’s displayed:
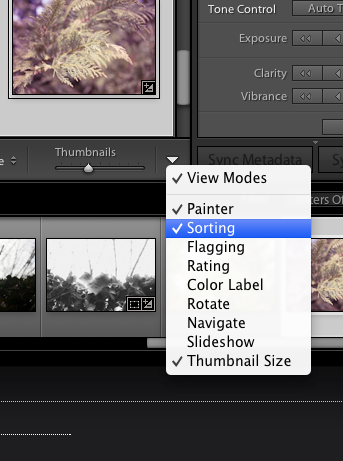
Press the dropdown arrow on the far right to add sorting if you don’t already see it.
Here are some ways that images can be sorted:

Lightroom has a ton of ways to sort images. How do you sort yours?
I think that most photographers will keep their images sorted by capture time, also known as the order that the images were shot in. However, there are different ways of sorting that you can experiment with. These 12 options are enough to keep most photographers satisfied.
Keep in mind that the only way that this sorts images is within the Lightroom catalog itself. It makes no changes to how they’re shown in the folders they are stored in or anything like that.
How do you sort your images? Feel free to leave a comment to let me know how you handle yours.